Group Collaboration
How do I Use Groups Collaborations as an Instructor
You can follow ![]() Step 2 to set up collaborations for groups (groups created by instructors or the groups created by students) .
Step 2 to set up collaborations for groups (groups created by instructors or the groups created by students) .
How do I Use Groups Collaborations as an Instructor
You can follow ![]() Step 2 to set up collaborations for groups (groups created by instructors or the groups created by students) .
Step 2 to set up collaborations for groups (groups created by instructors or the groups created by students) .
How Students Use Groups Collaborations
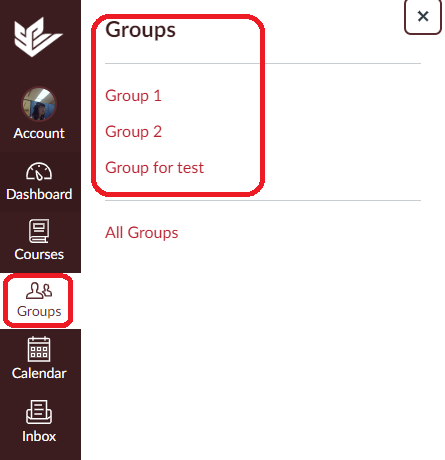
Step 1. Navigate to Group Homepage.
Go to the global navigation bar and click Groups.
Choose the Group you want to get in.
![]() Step 2. Setting up a Collaboration.
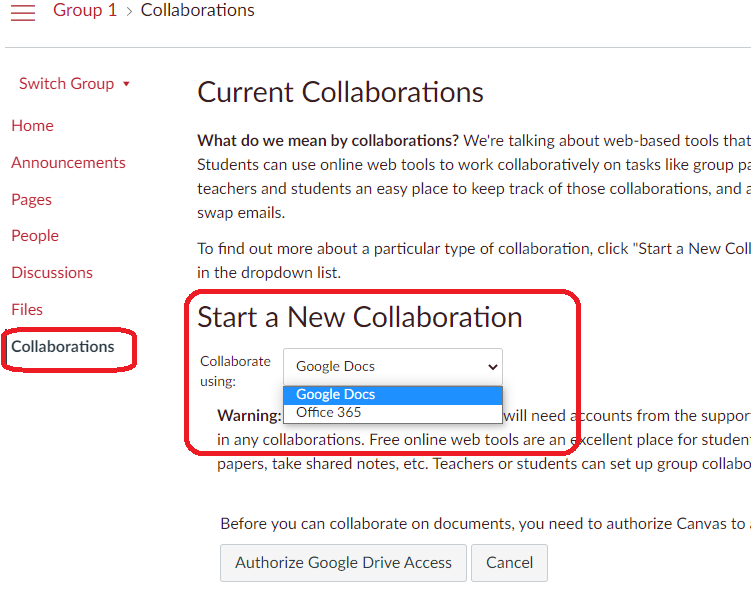
Step 2. Setting up a Collaboration.
From the Collaborations tab, choose the collaboration tool (Google Docs, or Office 365).
Office 365
Each collaborator will need to have a OneDrive account before they are able to collaborate. However, all students with an institutional email address (@spu.edu ) should already have an account.
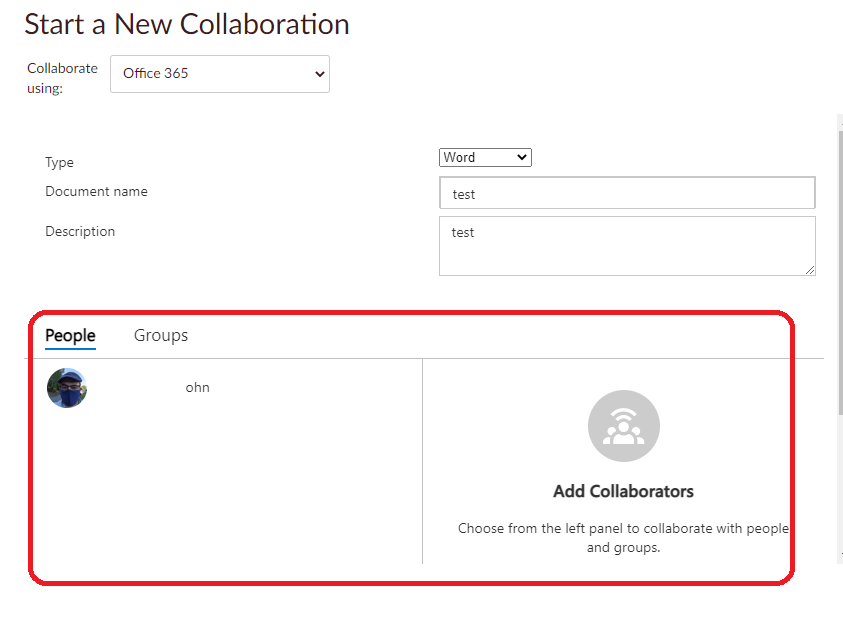
- From the Type , you can select Word, Excel or PowerPoint.
- Name your document and write a description.
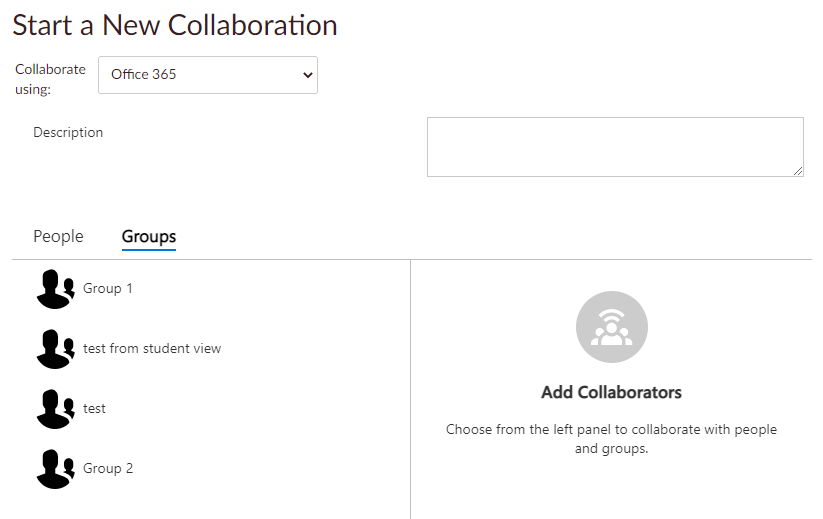
- Select people you want to collaborate with in your group and save.
- The new collaborative document will appear in a new window.
Google Docs
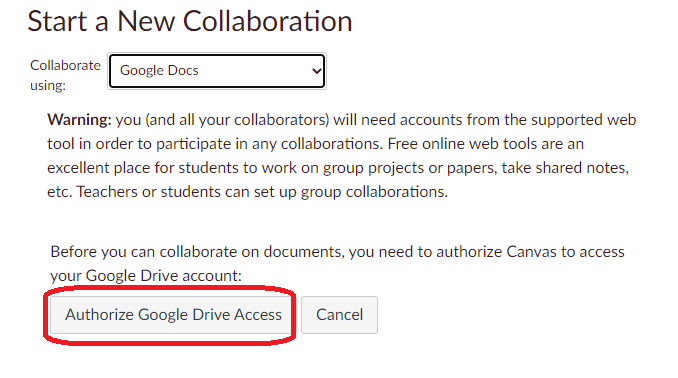
Each collaborator will need to have a Google account and authorize Canvas to access this account before they are able to collaborate. Google Docs allows you to add up to 50 users per collaboration, and all users can view and edit a document at the same time. However, Google collaborations has a limit as to the number of users who can access a collaboration at any time.
- Authorize Google Drive Access.
- Name your document and write a description.
- Select people you want to collaborate with in your group and start Collaboration.
Additional Resources
