How to Optimize your Zoom Connection
- Spruiell, Marissa
Due to a number of factors, Zoom users may encounter slowed/choppy video and audio. The below tips are to help Zoom users improve their meeting experience by optimizing their internet connection and use of computer resources.
Use the Best Internet Connection Available.
A wired (Ethernet) connection is usually faster and more reliable than a wireless (WiFi) connection.
A wireless (WiFi) connection is usually faster and more reliable than a cellular (3G/4G/LTE) connection.
Prior to your Zoom meeting(s), plan to be in a location where you can access the fastest connection available.
Close unnecessary applications and avoid activities that crowd bandwidth.
This allows your computer to dedicate necessary resources to best run Zoom on your computer.
Activities that crowd bandwidth include:
- Large downloads and uploads
- Streaming music or video (ex: Netflix, Spotify, YouTube)
- Cloud backups and syncing (ex: OneDrive sync)
If your professor or moderator approves:
- When you are not speaking, mute your microphone.
- If you do not need to be on camera at all times, stop your video.

Having your video on for the duration of the meeting or class makes for a much more personal and engaging experience.
However, if the quality of the audio or video is impacted to the extent that you cannot functionally participate, we recommend disabling your video to see if that improves the connection.
Disable HD webcam video.
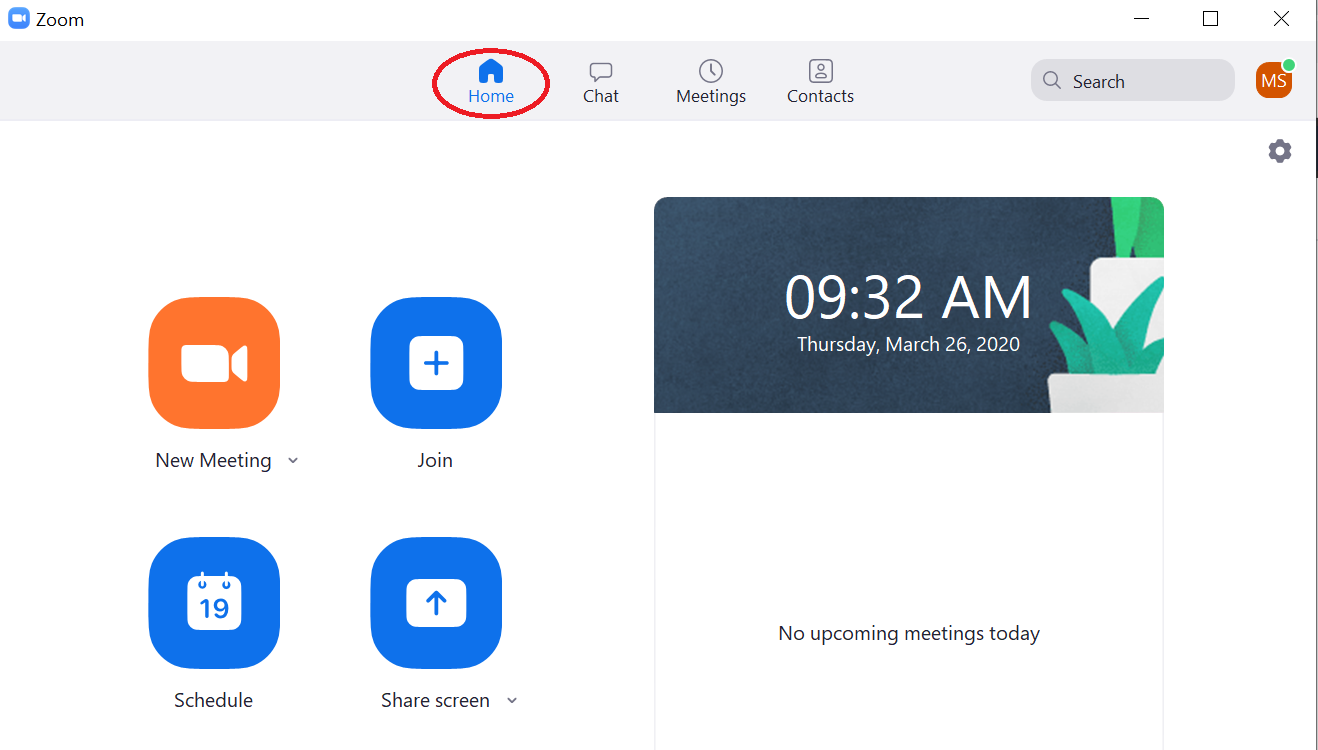
In the Zoom Desktop Client, follow the below steps:
- Click the Home icon:
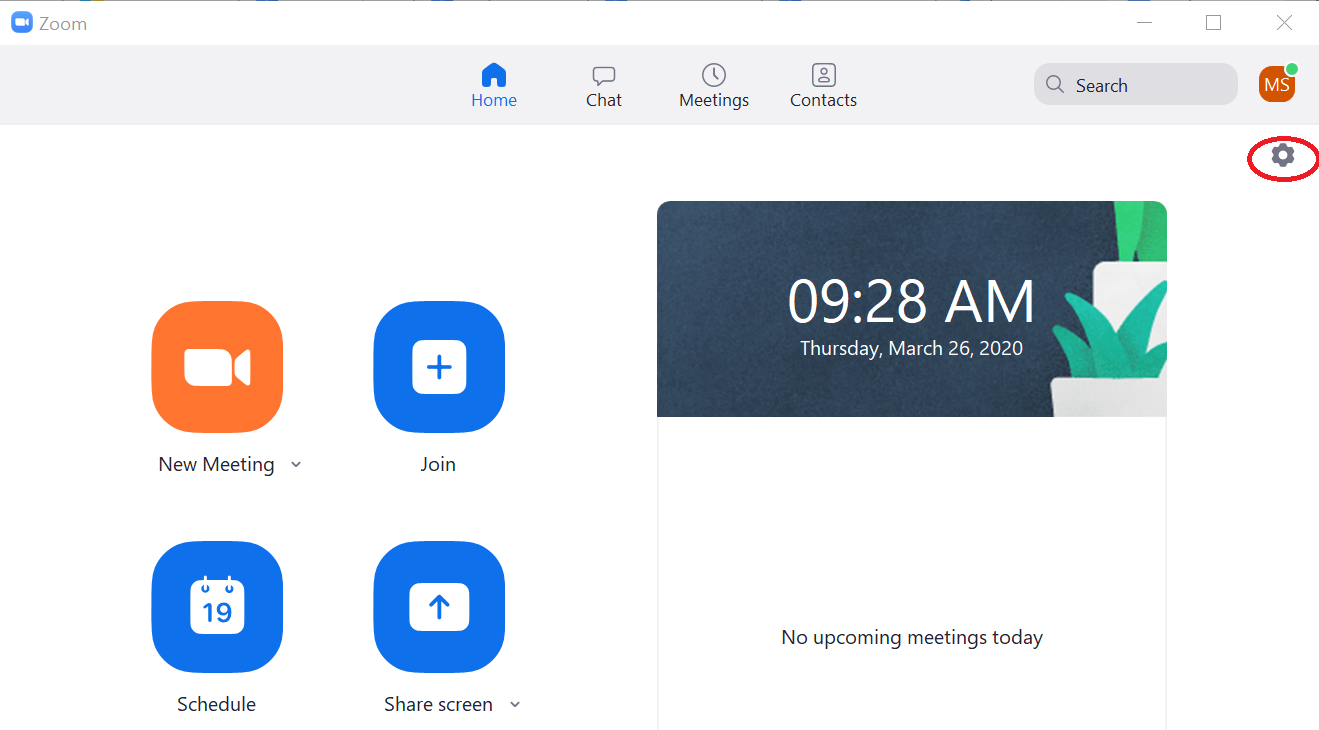
- Click the Gear icon for Settings:
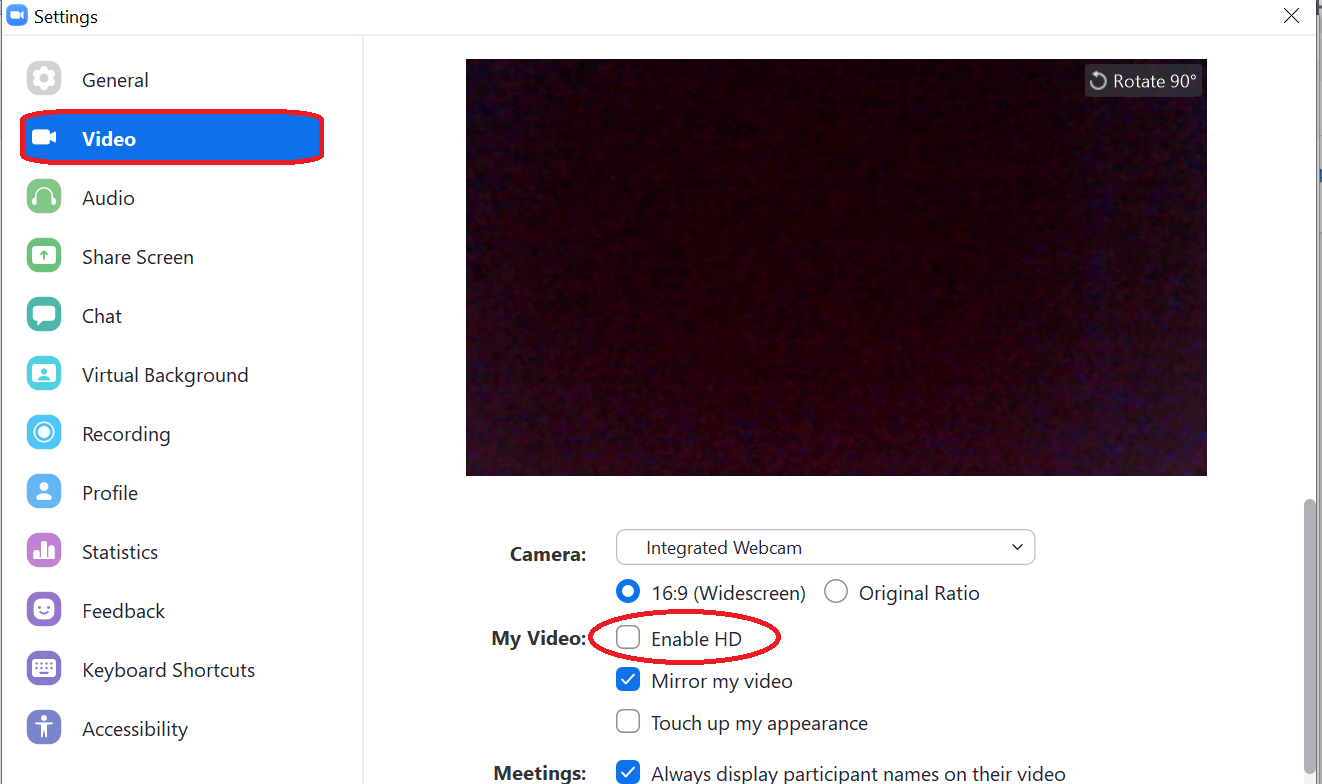
- In the Settings window:
- Click the Video tab
- Uncheck "Enable HD"
- Close the Settings window.