Create Modules
- Select the +Module button in the upper right-hand corner of the Modules tab.
- Name your module. At this point, you can also choose to lock the module until a certain date or set a prerequisite module.
3. To add content to a module, click the + icon to the right of the module name.
- Choose the type of content you would like to add to your module.
- You can choose to either create new content or link to content you have already created.
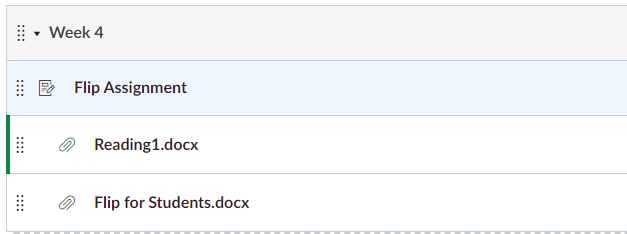
- Indentation levels allow you to set up your module like an outline. For example, if two files are relevant to an assignment, you can put the assignment as "don't indent" and the files as "indent 1 level".
- You can drag and drop to re-arrange content within your module, and also re-arrange the order of the modules themselves.
Canvas allows you to publish components of a module individually, but they will not be visible to students until the module itself is published. Select the grey cloud icon to the right of the module name to publish it. You can double-check what students can and cannot see in your course with the student view setting.
Additional Resources

