Skip to end of metadata
Go to start of metadata
You are viewing an old version of this content. View the current version.
Compare with Current
View Version History
« Previous
Version 14
Next »
Sort Students into Groups Automatically
- From the People tab in Canvas, select +Group Set.
- Name the group set. ex. Groups for Assignment 1.
- Select "Split students into __ groups".
- Enter the number of groups you want to make.
- Canvas will automatically assign students into groups of the same size.
Assign Students to a Group
- From the People tab in Canvas, select +Group Set.
- Name the group set. ex. Groups for Assignment 1.
- Select the option "I'll create groups manually" and save.
- You will be automatically re-directed to the new tab for your group. Here, you can create groups within the group set and assign students to the groups.
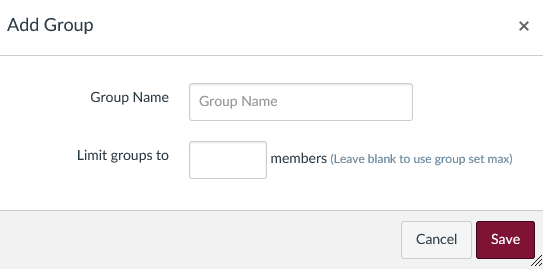
- To create a group, select +Group, name the group and indicate the maximum number of students.

- Assign students to groups by dragging their names from the Unassigned Student columns into a group. Click the group name to see a list of students in a group.
Allow Students to Make Their Own Groups
- From the People tab in Canvas, select +Group Set.
- Name the group set. ex. Groups for Assignment 1.
- Select "Allow self sign-up".
- There is an option to create groups now and limit the number of students in a group. You can enter values into these fields or leave them blank.
- If you want to have a group leader for every group, select an option under the Leadership options.
- Hit Save.
- You will redirected to you new group tab. Students can go into this tab and assign themselves to groups. If you choose not to pre-make the groups, they will be able to create their own groups here as well.
Additional Resources
-
Page:
-
Page:
-
Page:
-
Page:
-
Page:
-
Page:
-
Page:
-
Page:
-
Page:
-
Page:
-
Page:
-
Page:
-
Page:
-
Page:
-
Page: