Skip to end of metadata
Go to start of metadata
You are viewing an old version of this page. View the current version.
Compare with Current
View Page History
« Previous
Version 4
Next »
Step-by-step guide
- Click File -> Print and select a printer that begins with MFP or SecurePrint.
- Select Printer Properties.
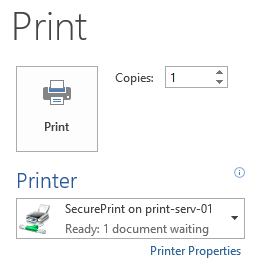
Note: In other applications, this may be called Properties, Print Properties, Preferences, Options, or something similar.
- A new dialog box will open. The properties are set to Black & White, with 1-sided prints.
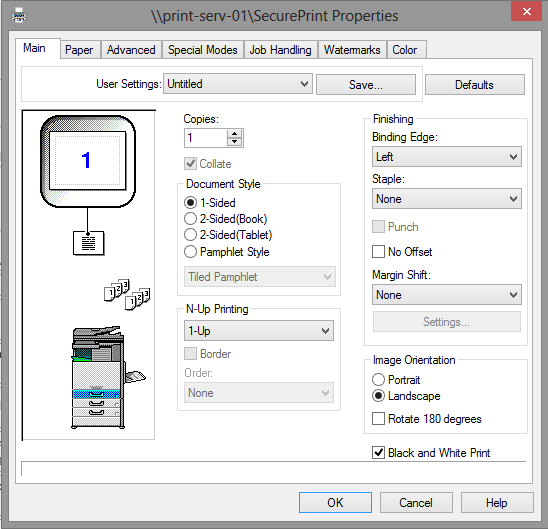
- Uncheck the Black and White option in the lower right hand corner to print in color.
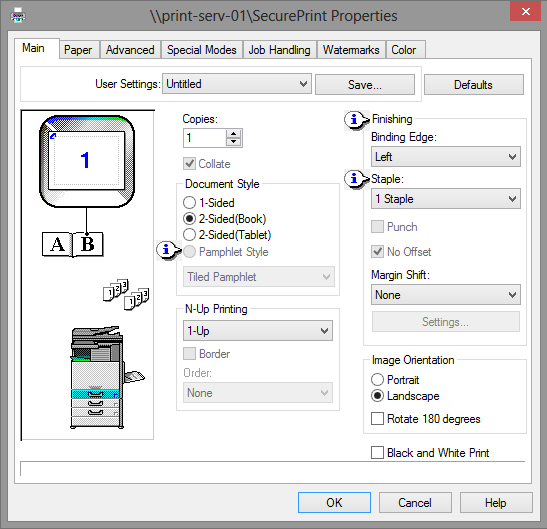
Note: the image in the upper left-hand corner changes based on the options selected.
- Click Print to continue.

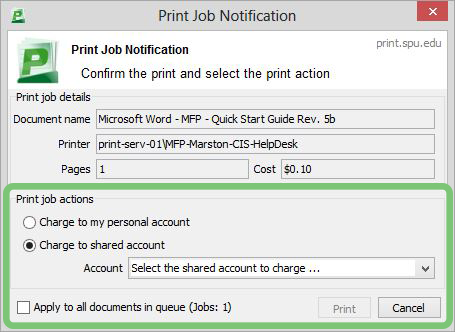
- The PaperCut dialogue box will appear. Select which account to charge the print job to.
Related articles
-
Page:
-
Page:
-
Page:
-
Page:
-
Page: