Skip to end of metadata
Go to start of metadata
Steps
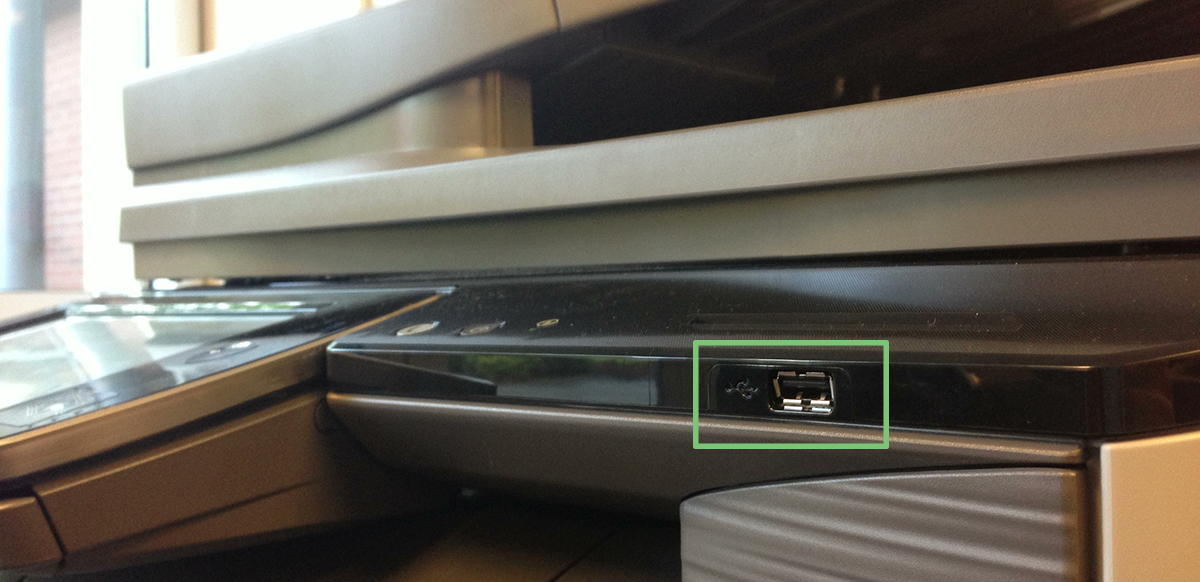
- Insert a USB flash drive into the built-in USB port on the MFP.
- Log into the MFP using your Falcon Card.
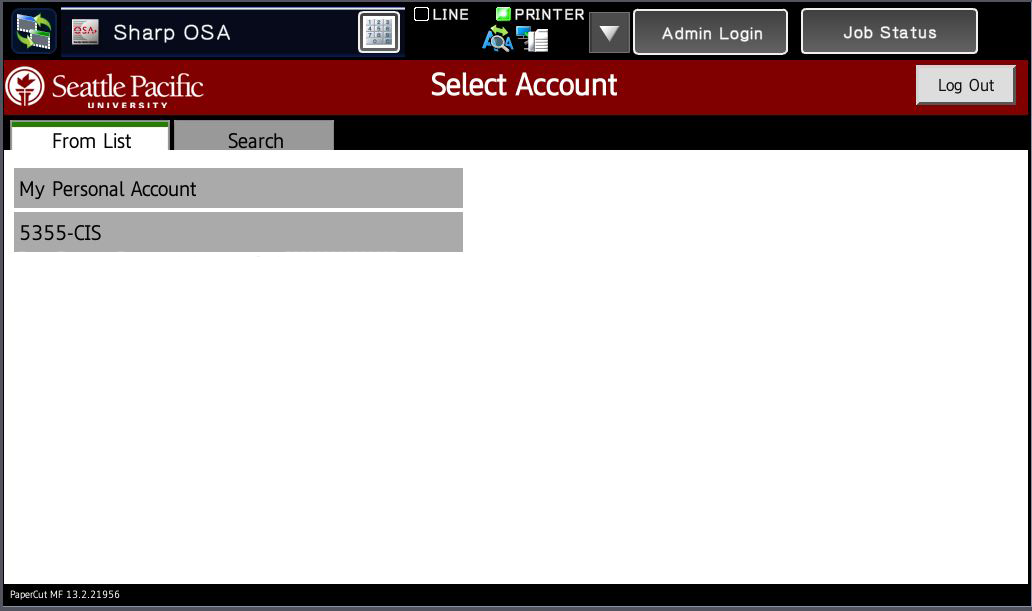
- Select an account to use. The account will not be charged.
- Place a document on the scanning bed.
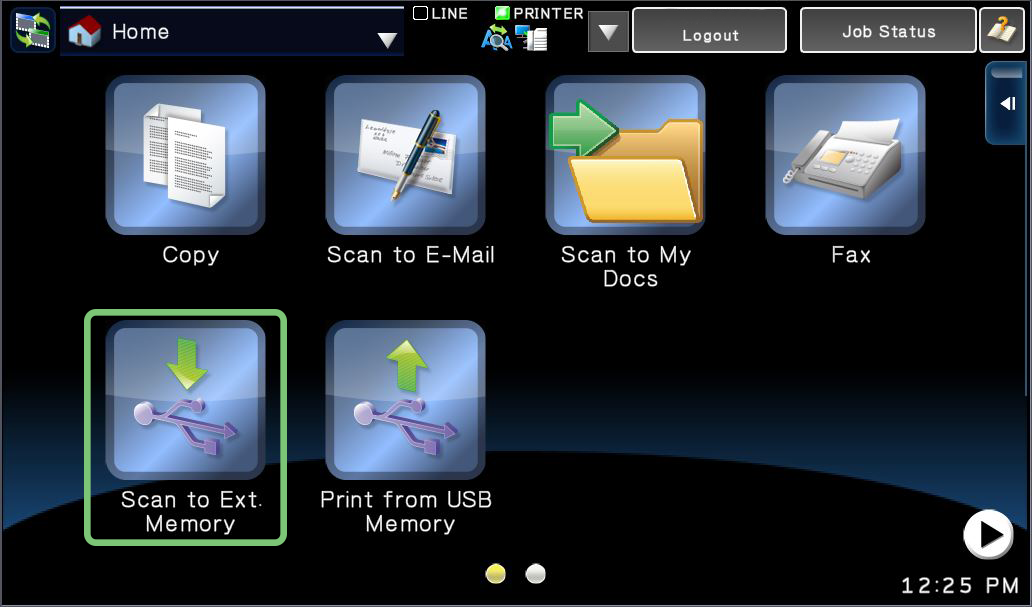
- From the Main Menu, tap Scan to Ext. Memory.
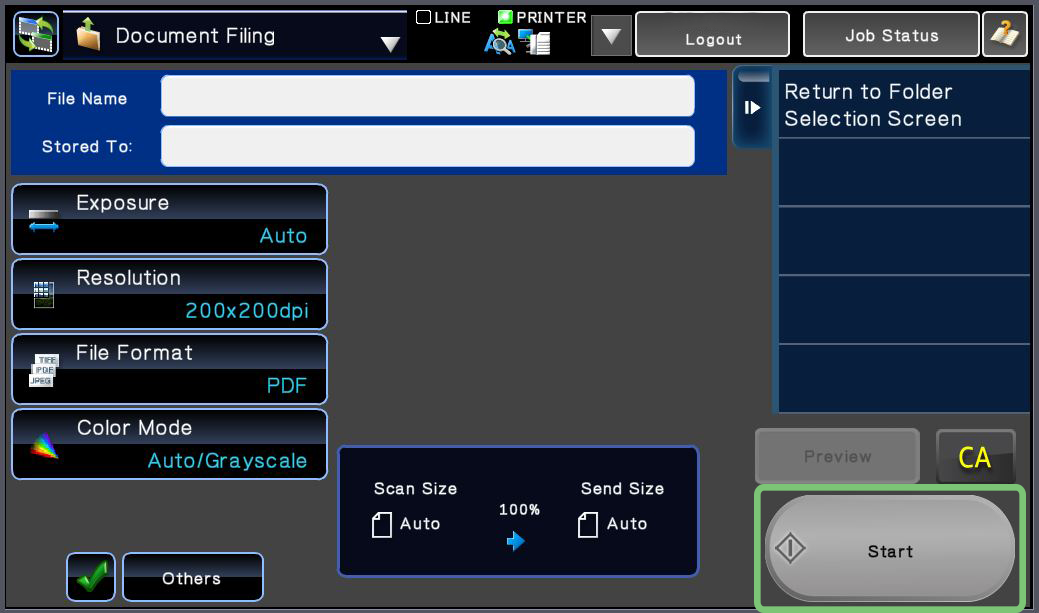
- Set a name for the scanned document.
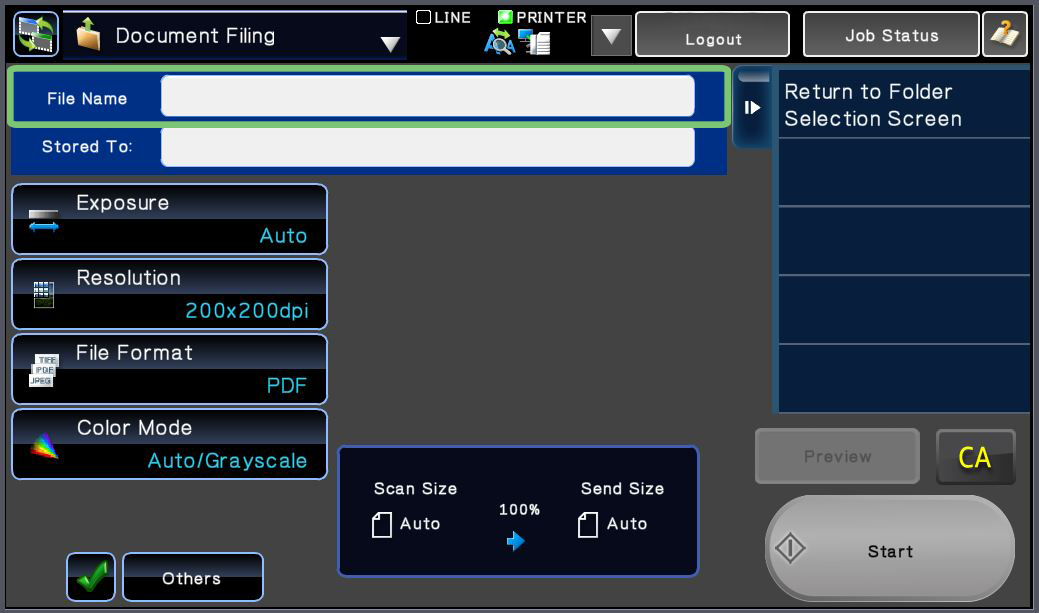
- Tap Start to begin printing.
- When finished with the MFP, tap the Logout button at the top of the screen.
To go to the Main Menu and use a different function, tap the Home Button on the MFP, approximately 2" to the right of the screen.

Related articles
-
Page:
-
Page:
-
Page:
-
Page:
-
Page: