Steps
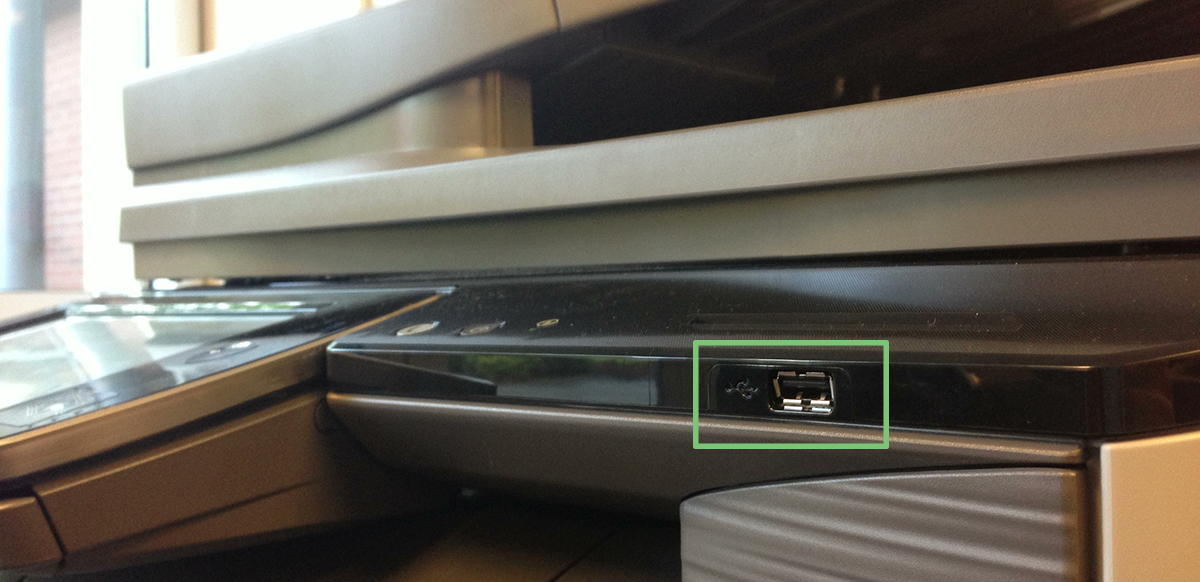
- Insert a USB flash drive into the built-in USB port on the MFP.
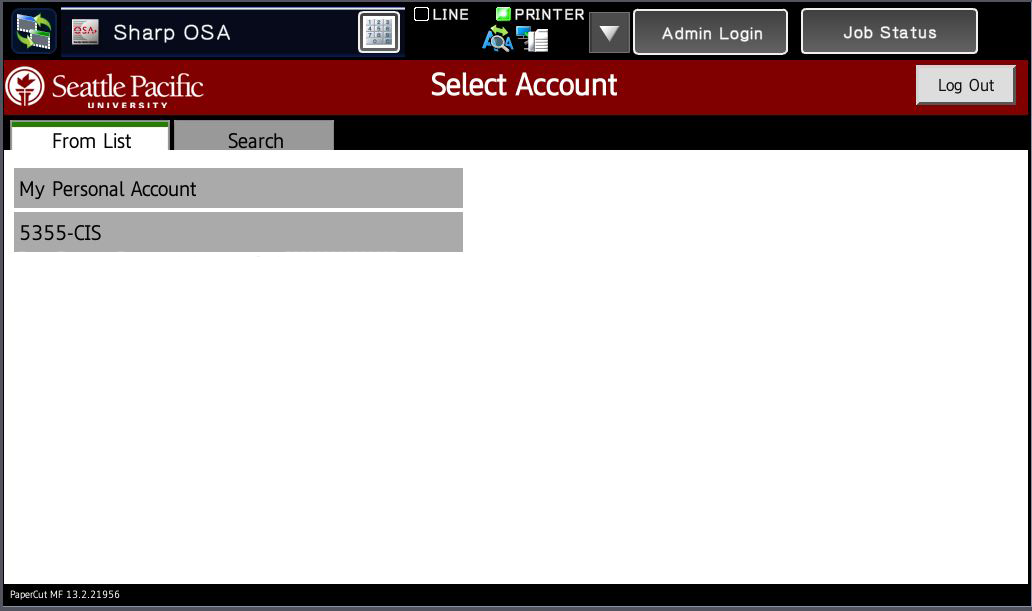
- Log into the MFP using your SeaPac Pass.
- Select an account to use. The account will not be charged.
- Place a document on the scanning bed.
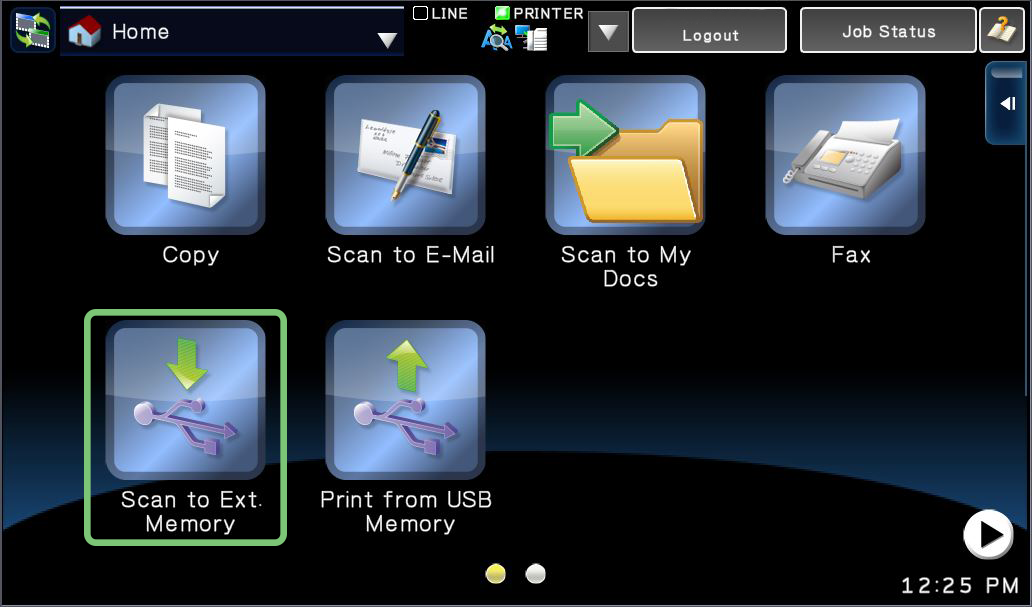
- From the Main Menu, tap Scan to Ext. Memory.
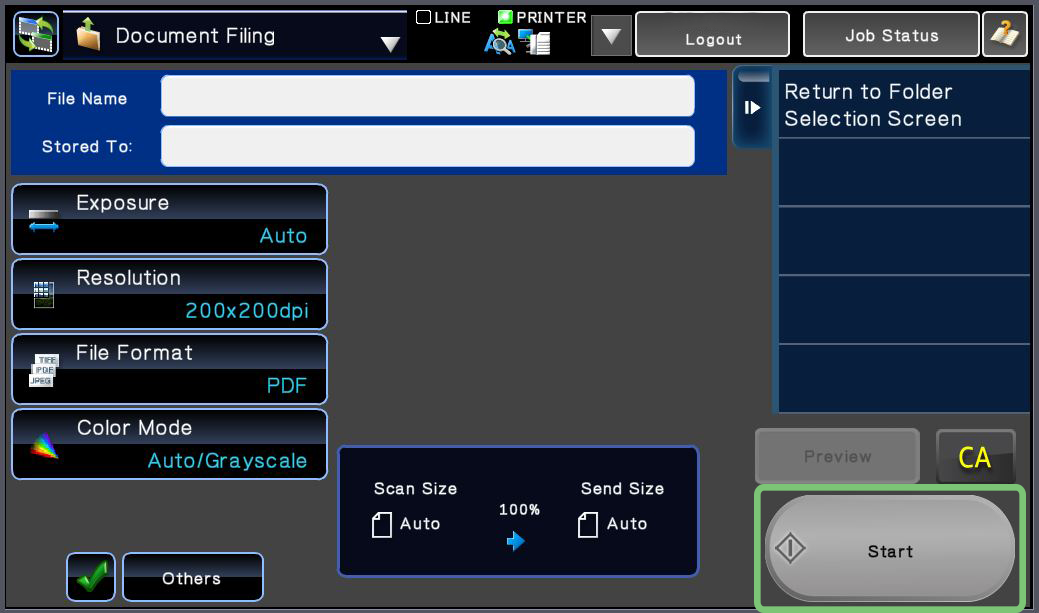
- Set a name for the scanned document.
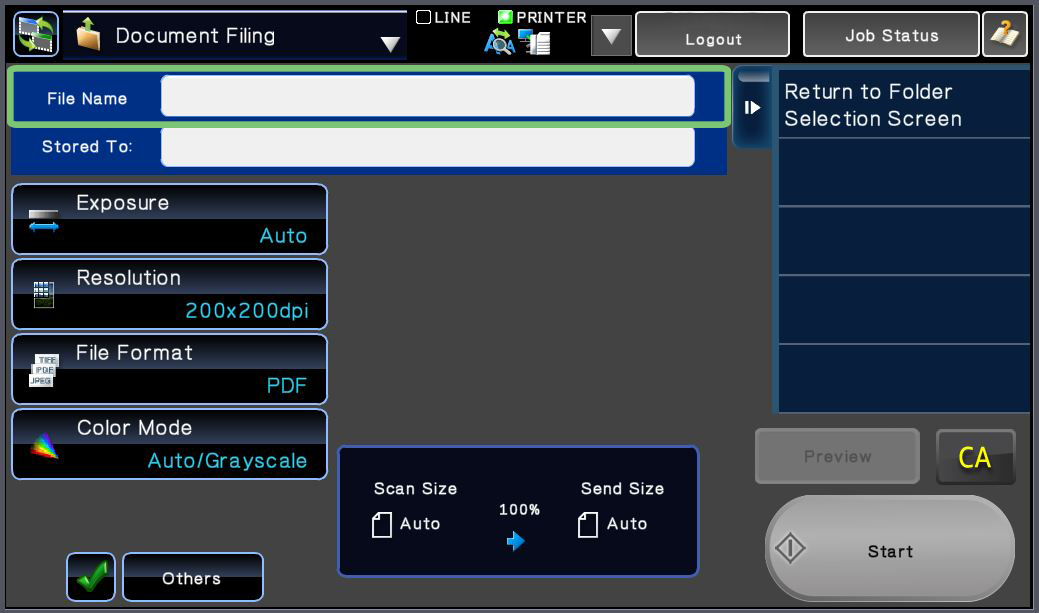
- Tap Start to begin printing.
- When finished with the MFP, tap the Logout button at the top of the screen.
To go to the Main Menu and use a different function, tap the Home Button on the MFP, approximately 2" to the right of the screen.
Related articles
Filter by label
There are no items with the selected labels at this time.