| Item | Qty | Details | Checkout Policy |
|---|---|---|---|
| Joby GorillaPod Mini Tripod | 5 | Tripod for point and shoot cameras and pocket video cameras | 3-days |
ABOUT
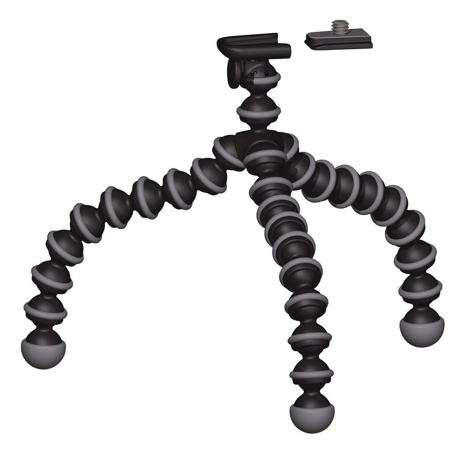
- The mini tripod (JOBY GorillaPod Original) is suitable for smaller devices such as point-and-shoot cameras, pocket video cameras (Flip and Bloggie), and perfect when paired with the GripTight Mount for use with iOS devices (iPod touches and iPhones) or other mobile phones. For point-and-shoot cameras weighing up to 325g (11.5 oz).
- Manufacturer Info
CONTENTS
- Joby GorillaPod Mini Tripod
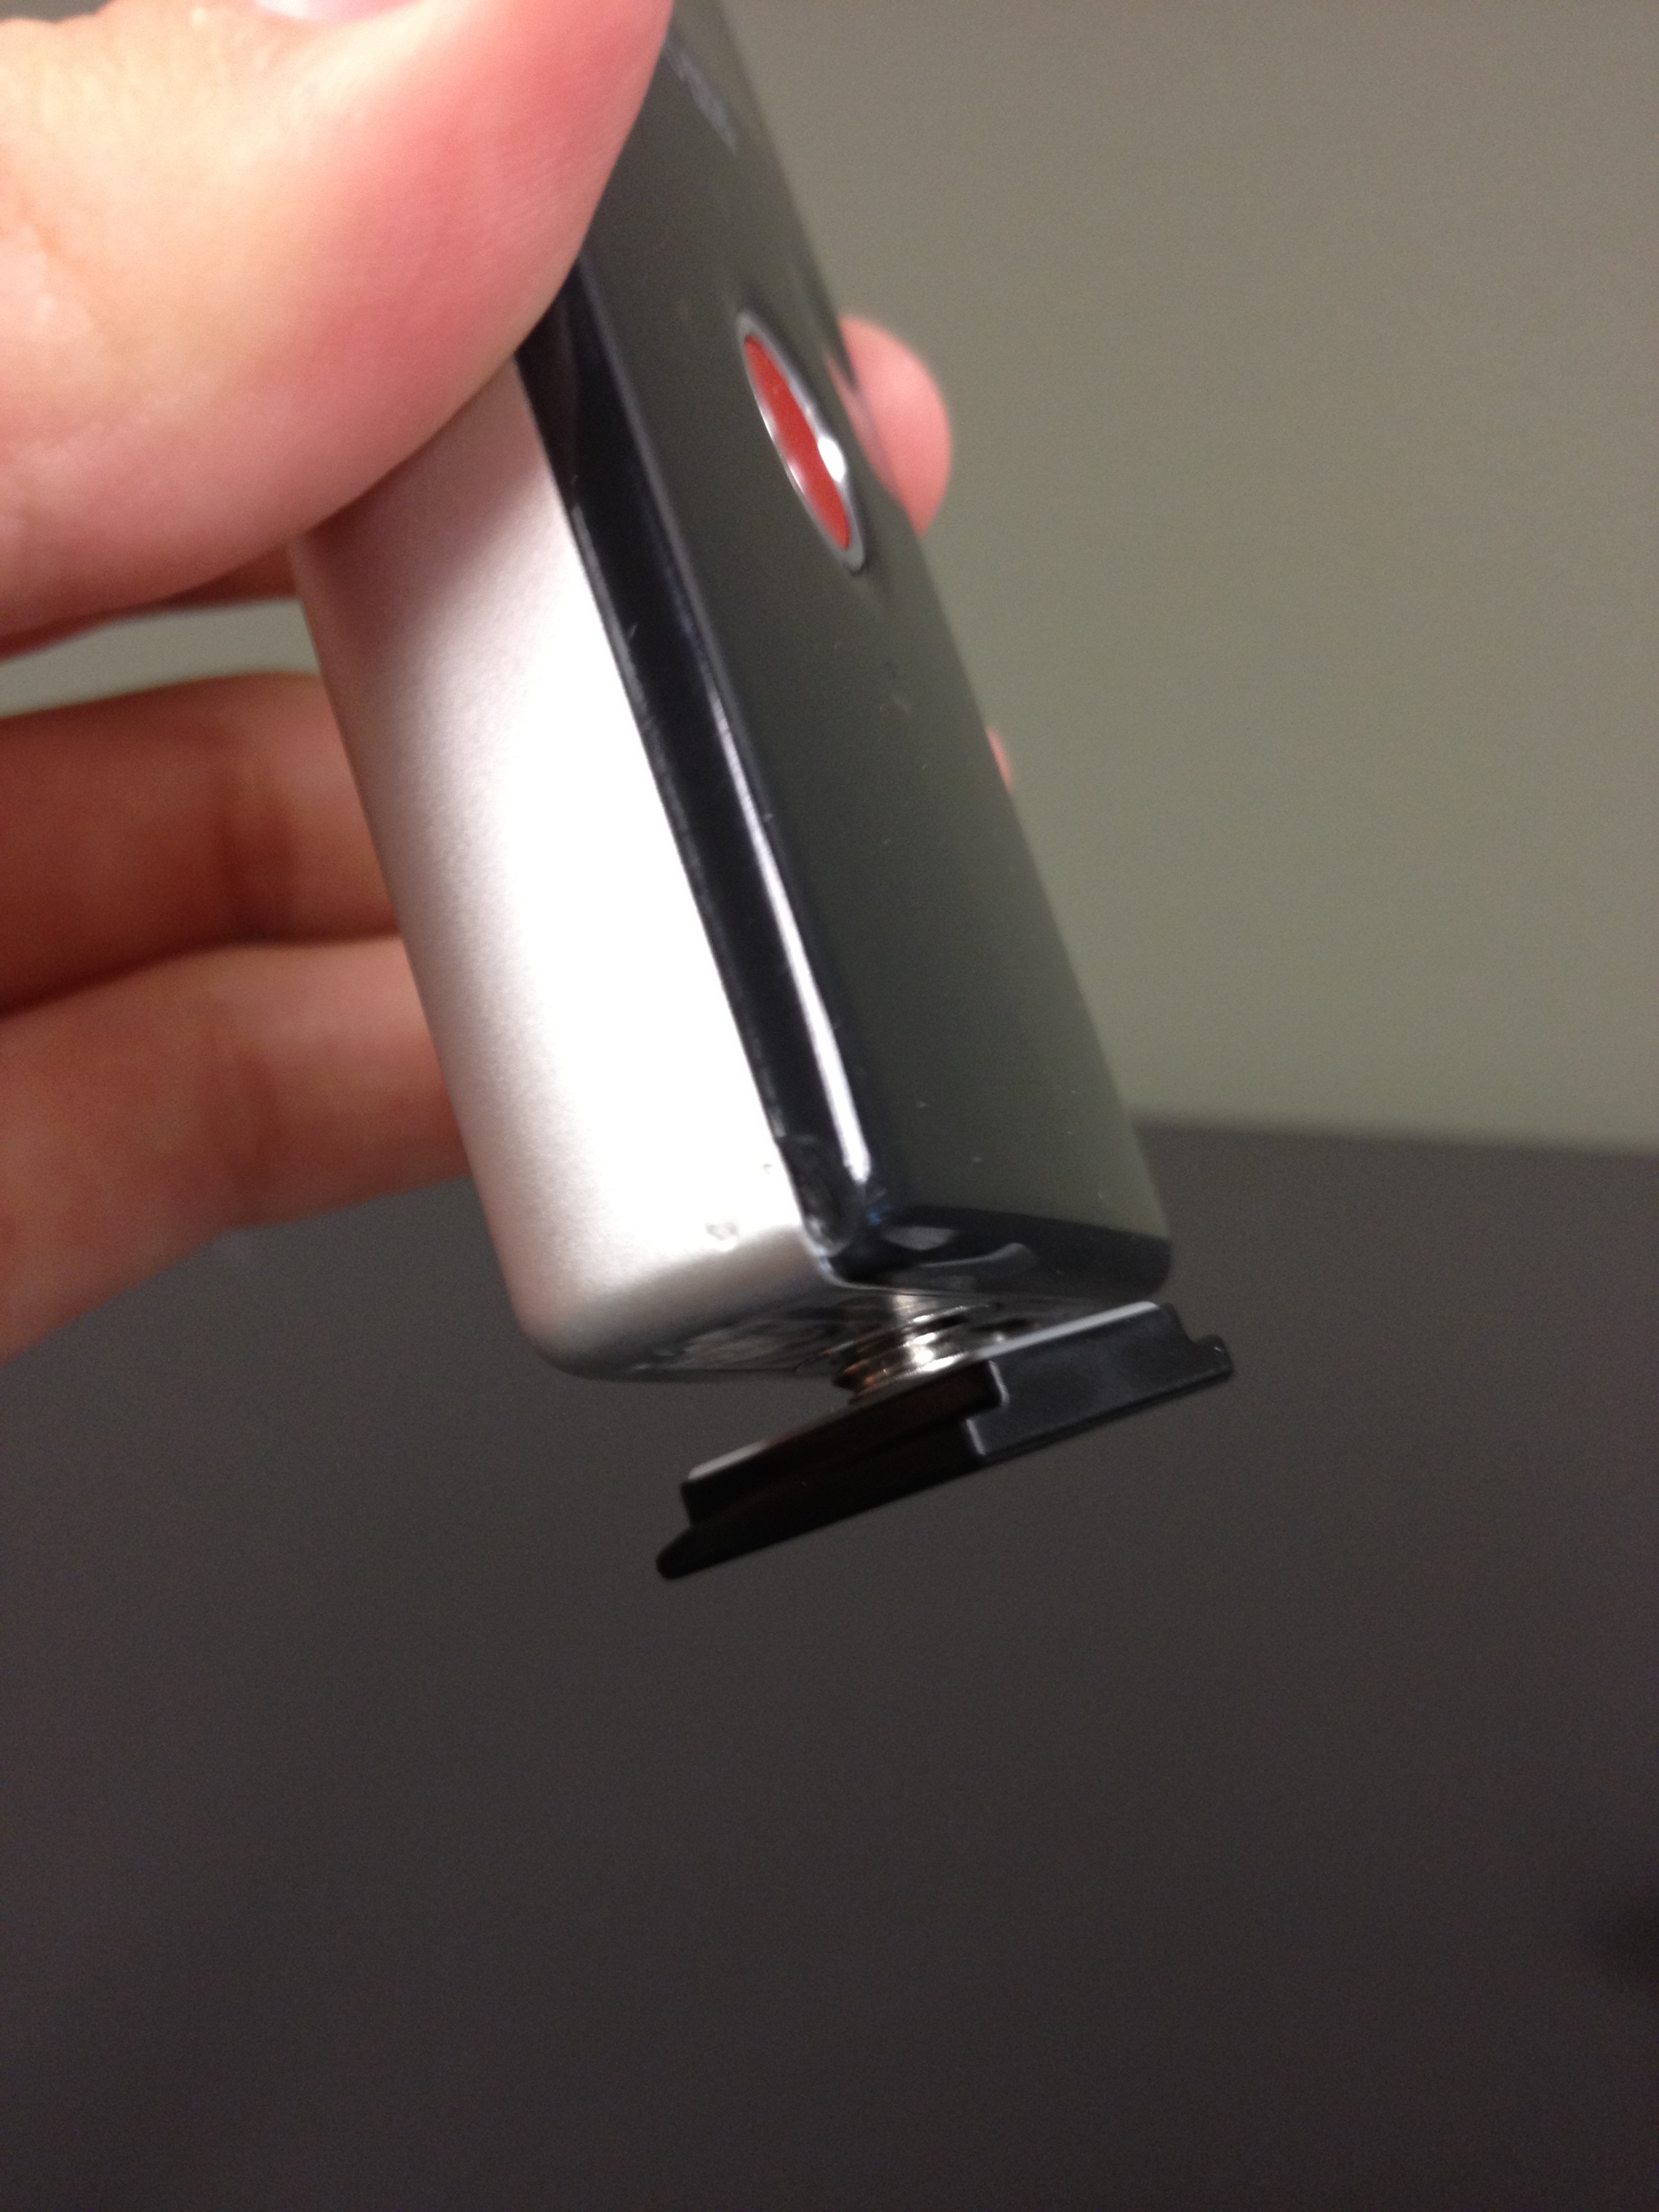
- Detachable foot to screw camera into
Step-by-step guide
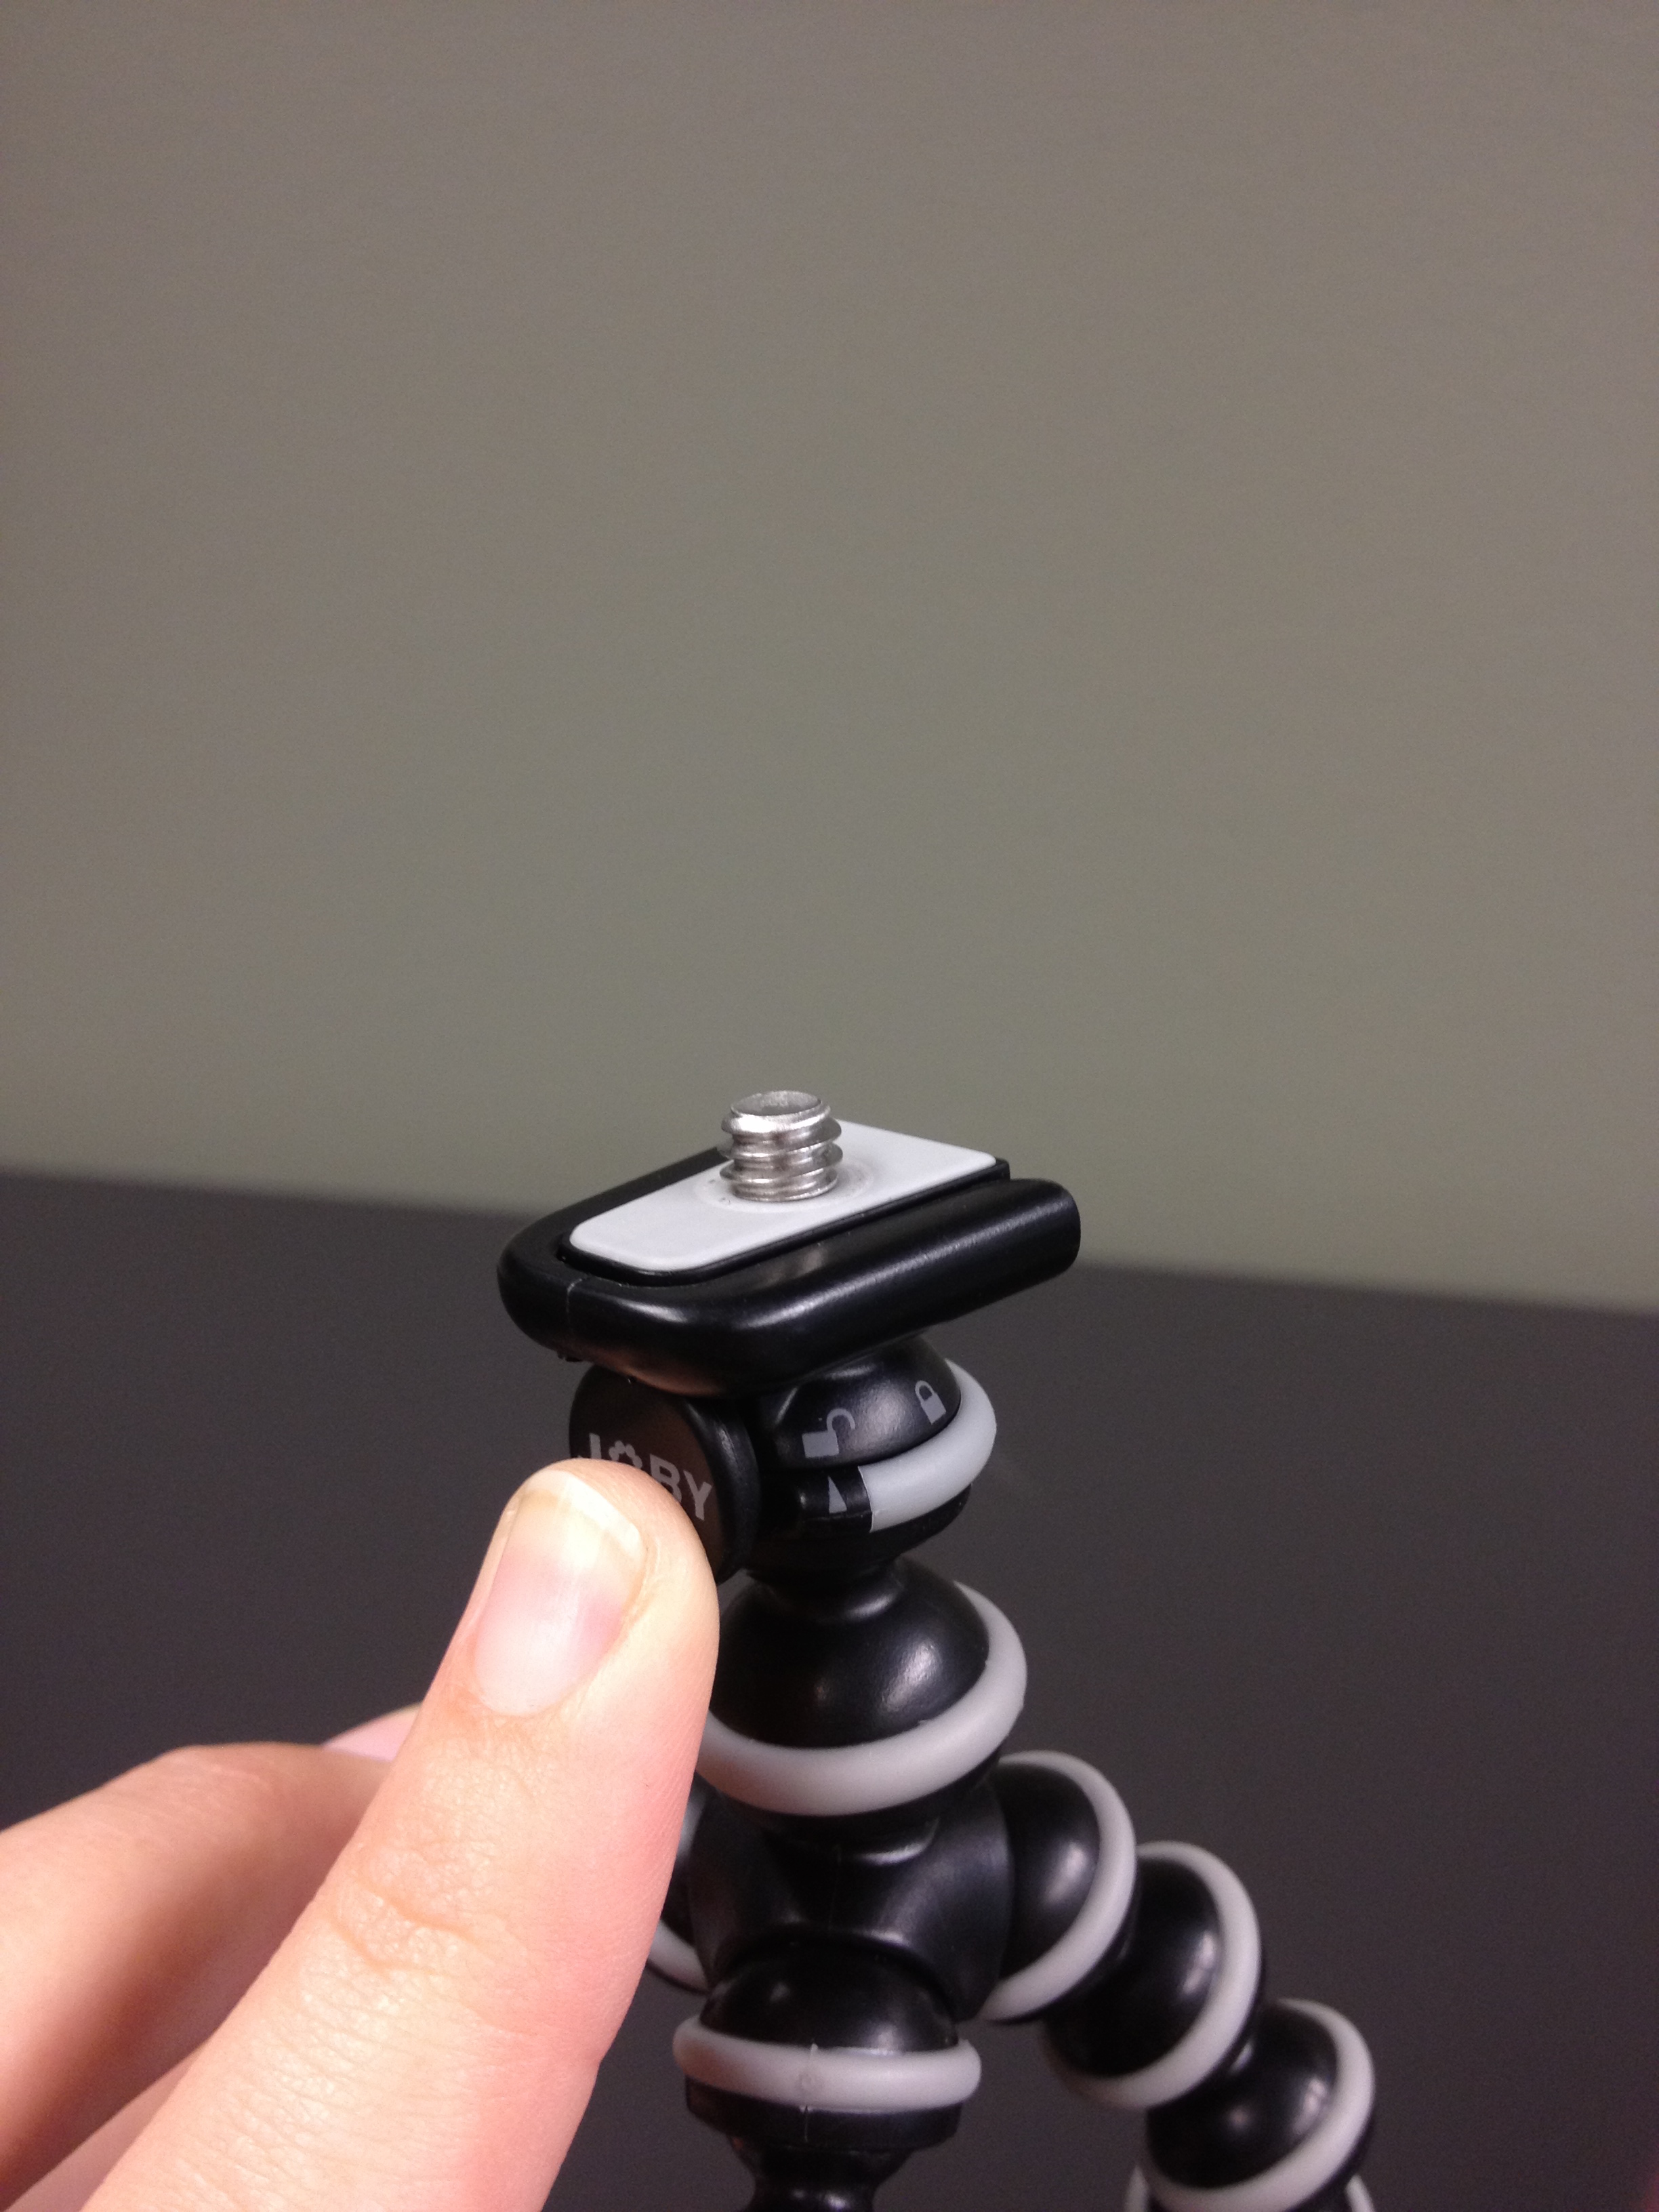
- Twist the stand so the arrow indicates the tri-pod is in the “unlock position” and press on the “JOBY” logo button to slide out the device holder.
- Twist the screw into the desired recording device.
- Slide camera into the tripod and twist the stand so the arrow indicates it is in the lock position.
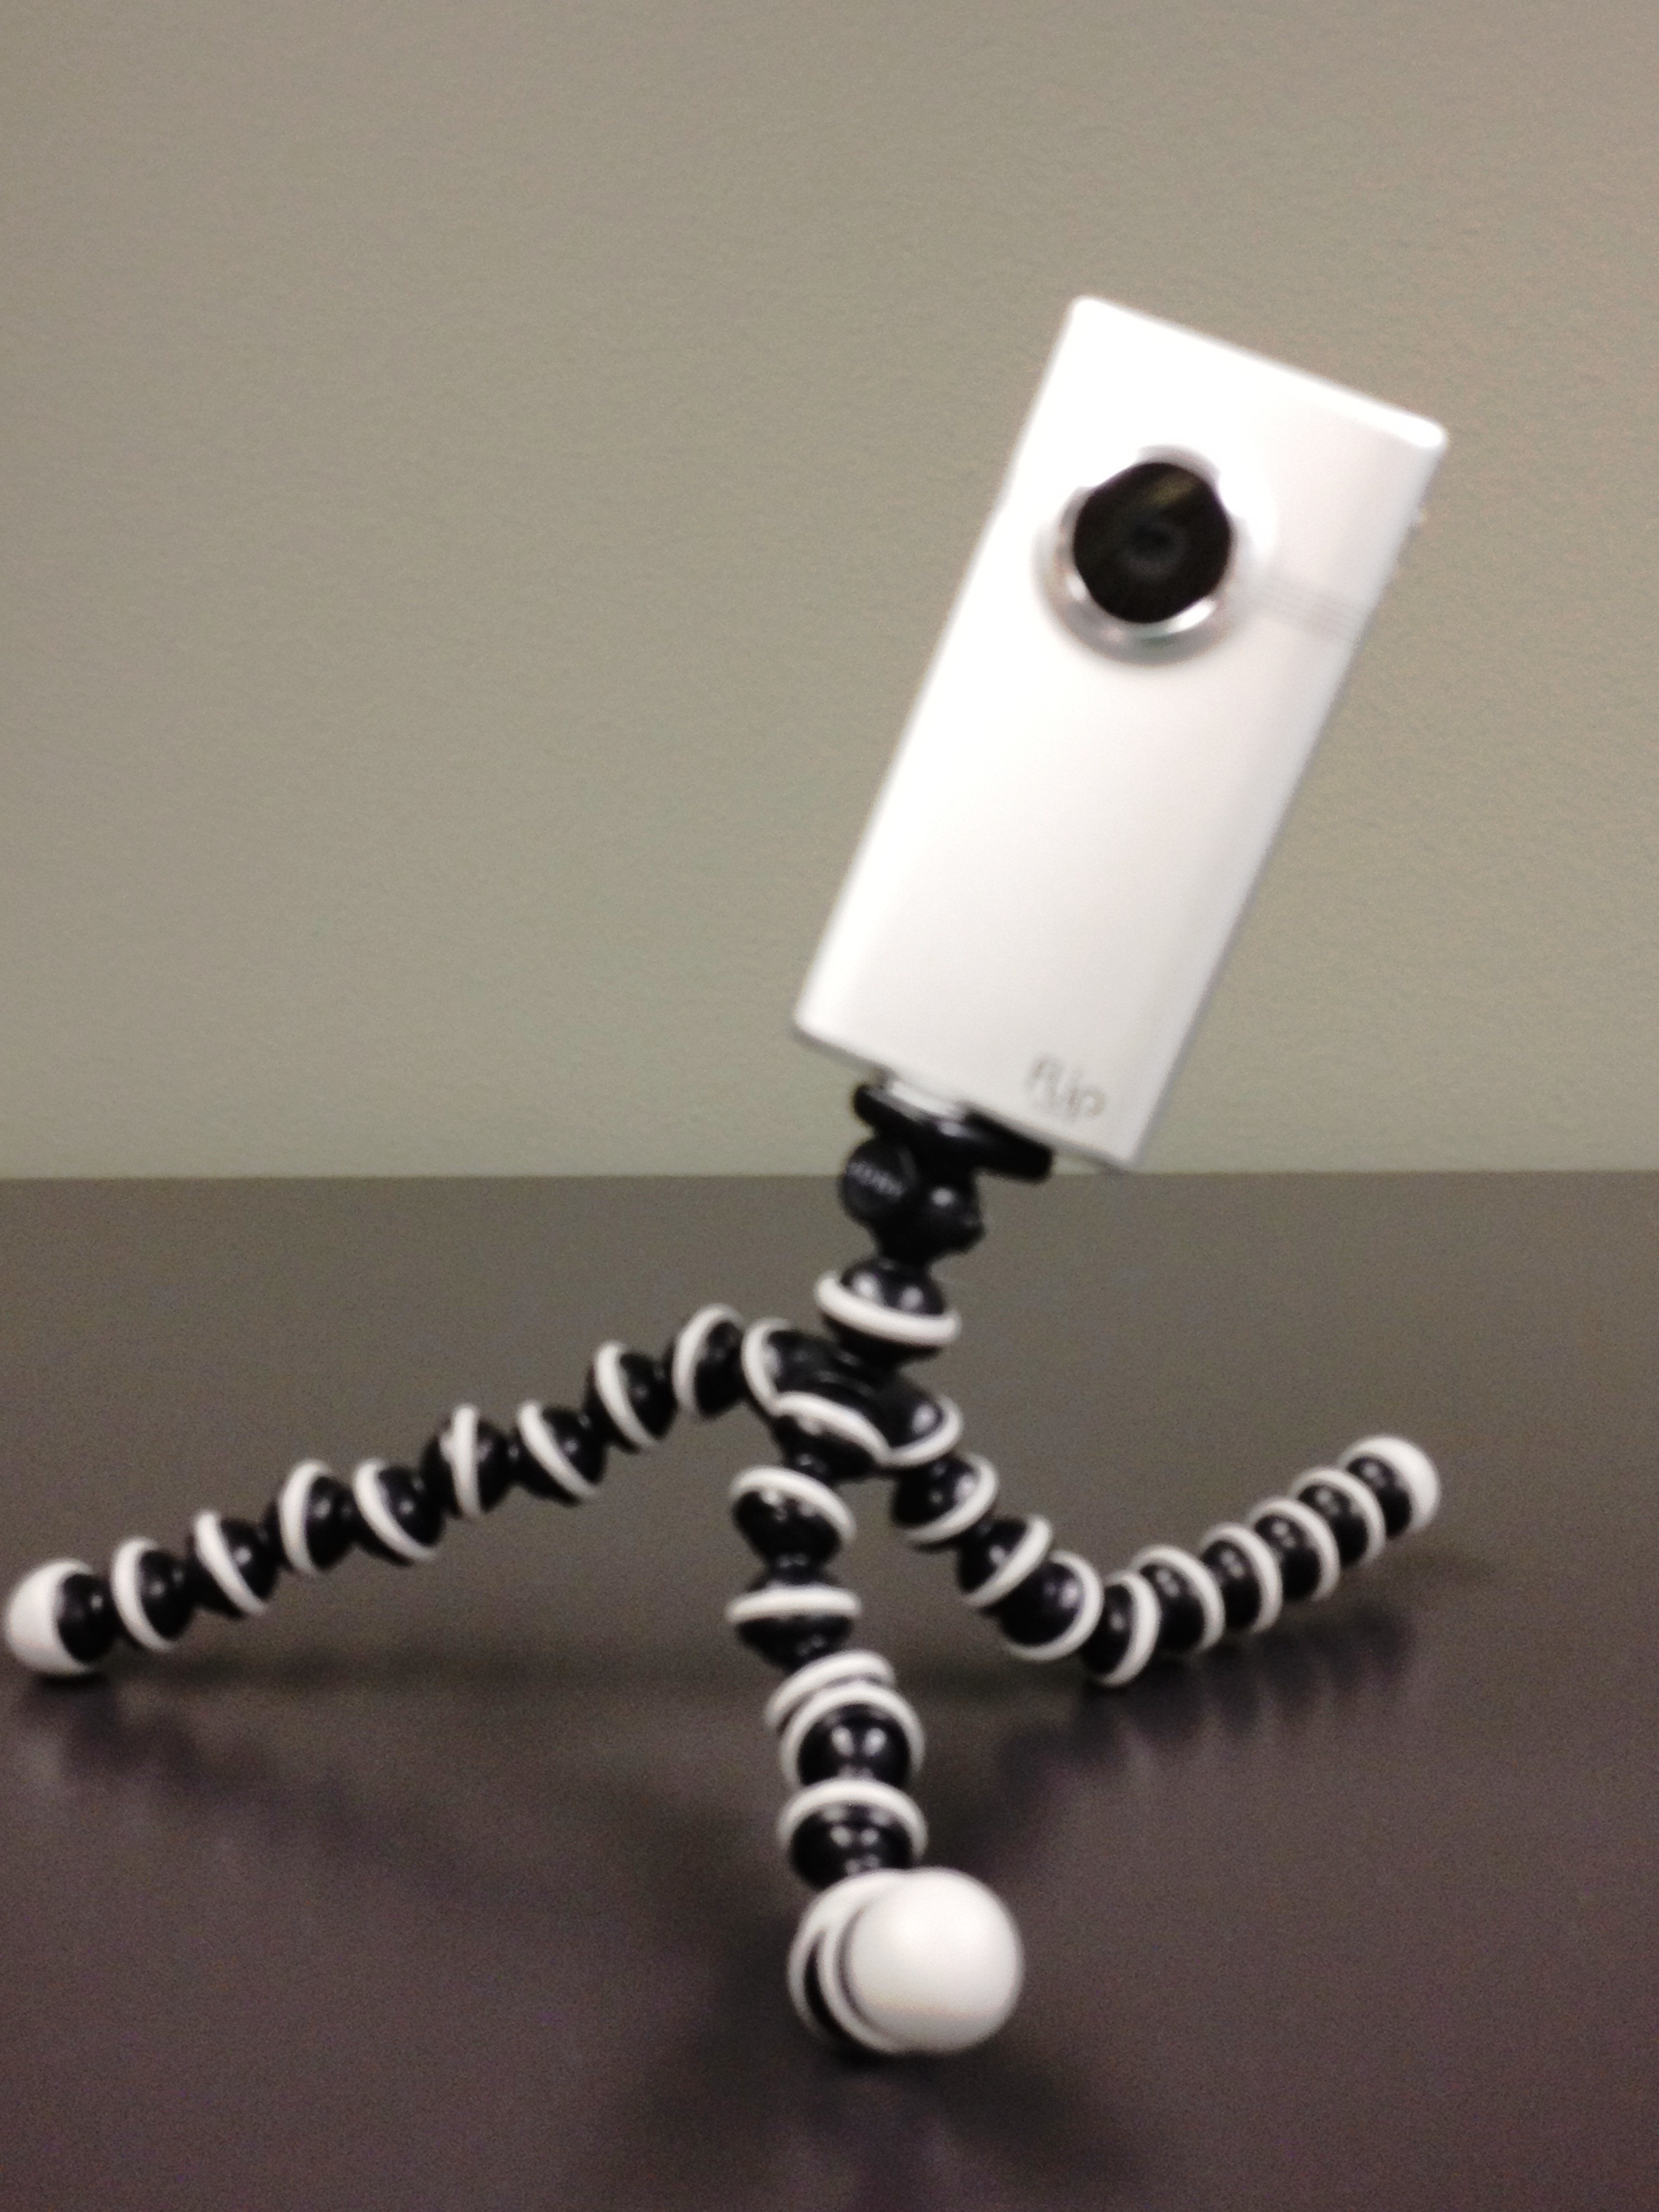
- The tri-pod can be adjusted to the desired height and angle for optimum capturing. Further, the flexible legs allow for tri-pod to be wrapped around tree branches, fences, etc.
ADJUSTMENT/TROUBLESHOOTING
1: Stabilize the left and right sides
Secure one leg to the left of your camera, and then secure one leg to the right of your camera. By positioning one leg to the left and one to the right, you prevent the camera from slipping sideways.
2: Prevent the camera from moving forwards or backwards
The third tripod leg should be used to prevent the camera from slipping forwards or backwards. By positioning one leg directly in front of your camera, you prevent the camera from drooping, slipping or sliding forward. Conversely, place the third leg directly behind the camera if you feel it tilting backwards.
3: Adjust your camera
Once the GorillaPod legs are secure, grip the GorillaPod Original with one hand. With your other hand, adjust the position of your camera so the subject of your photo is perfectly framed. Better photographs in three easy steps!
Questions or Assistance?
Contact the Tech Desk, which provides technology tools, assistance, and space for students to discover, create, and share.
Tech Desk
Seattle Pacific University Library, Lower Level
206.281.2211 | librarytechdesk@spu.edu | spu.edu/library/tech-desk


